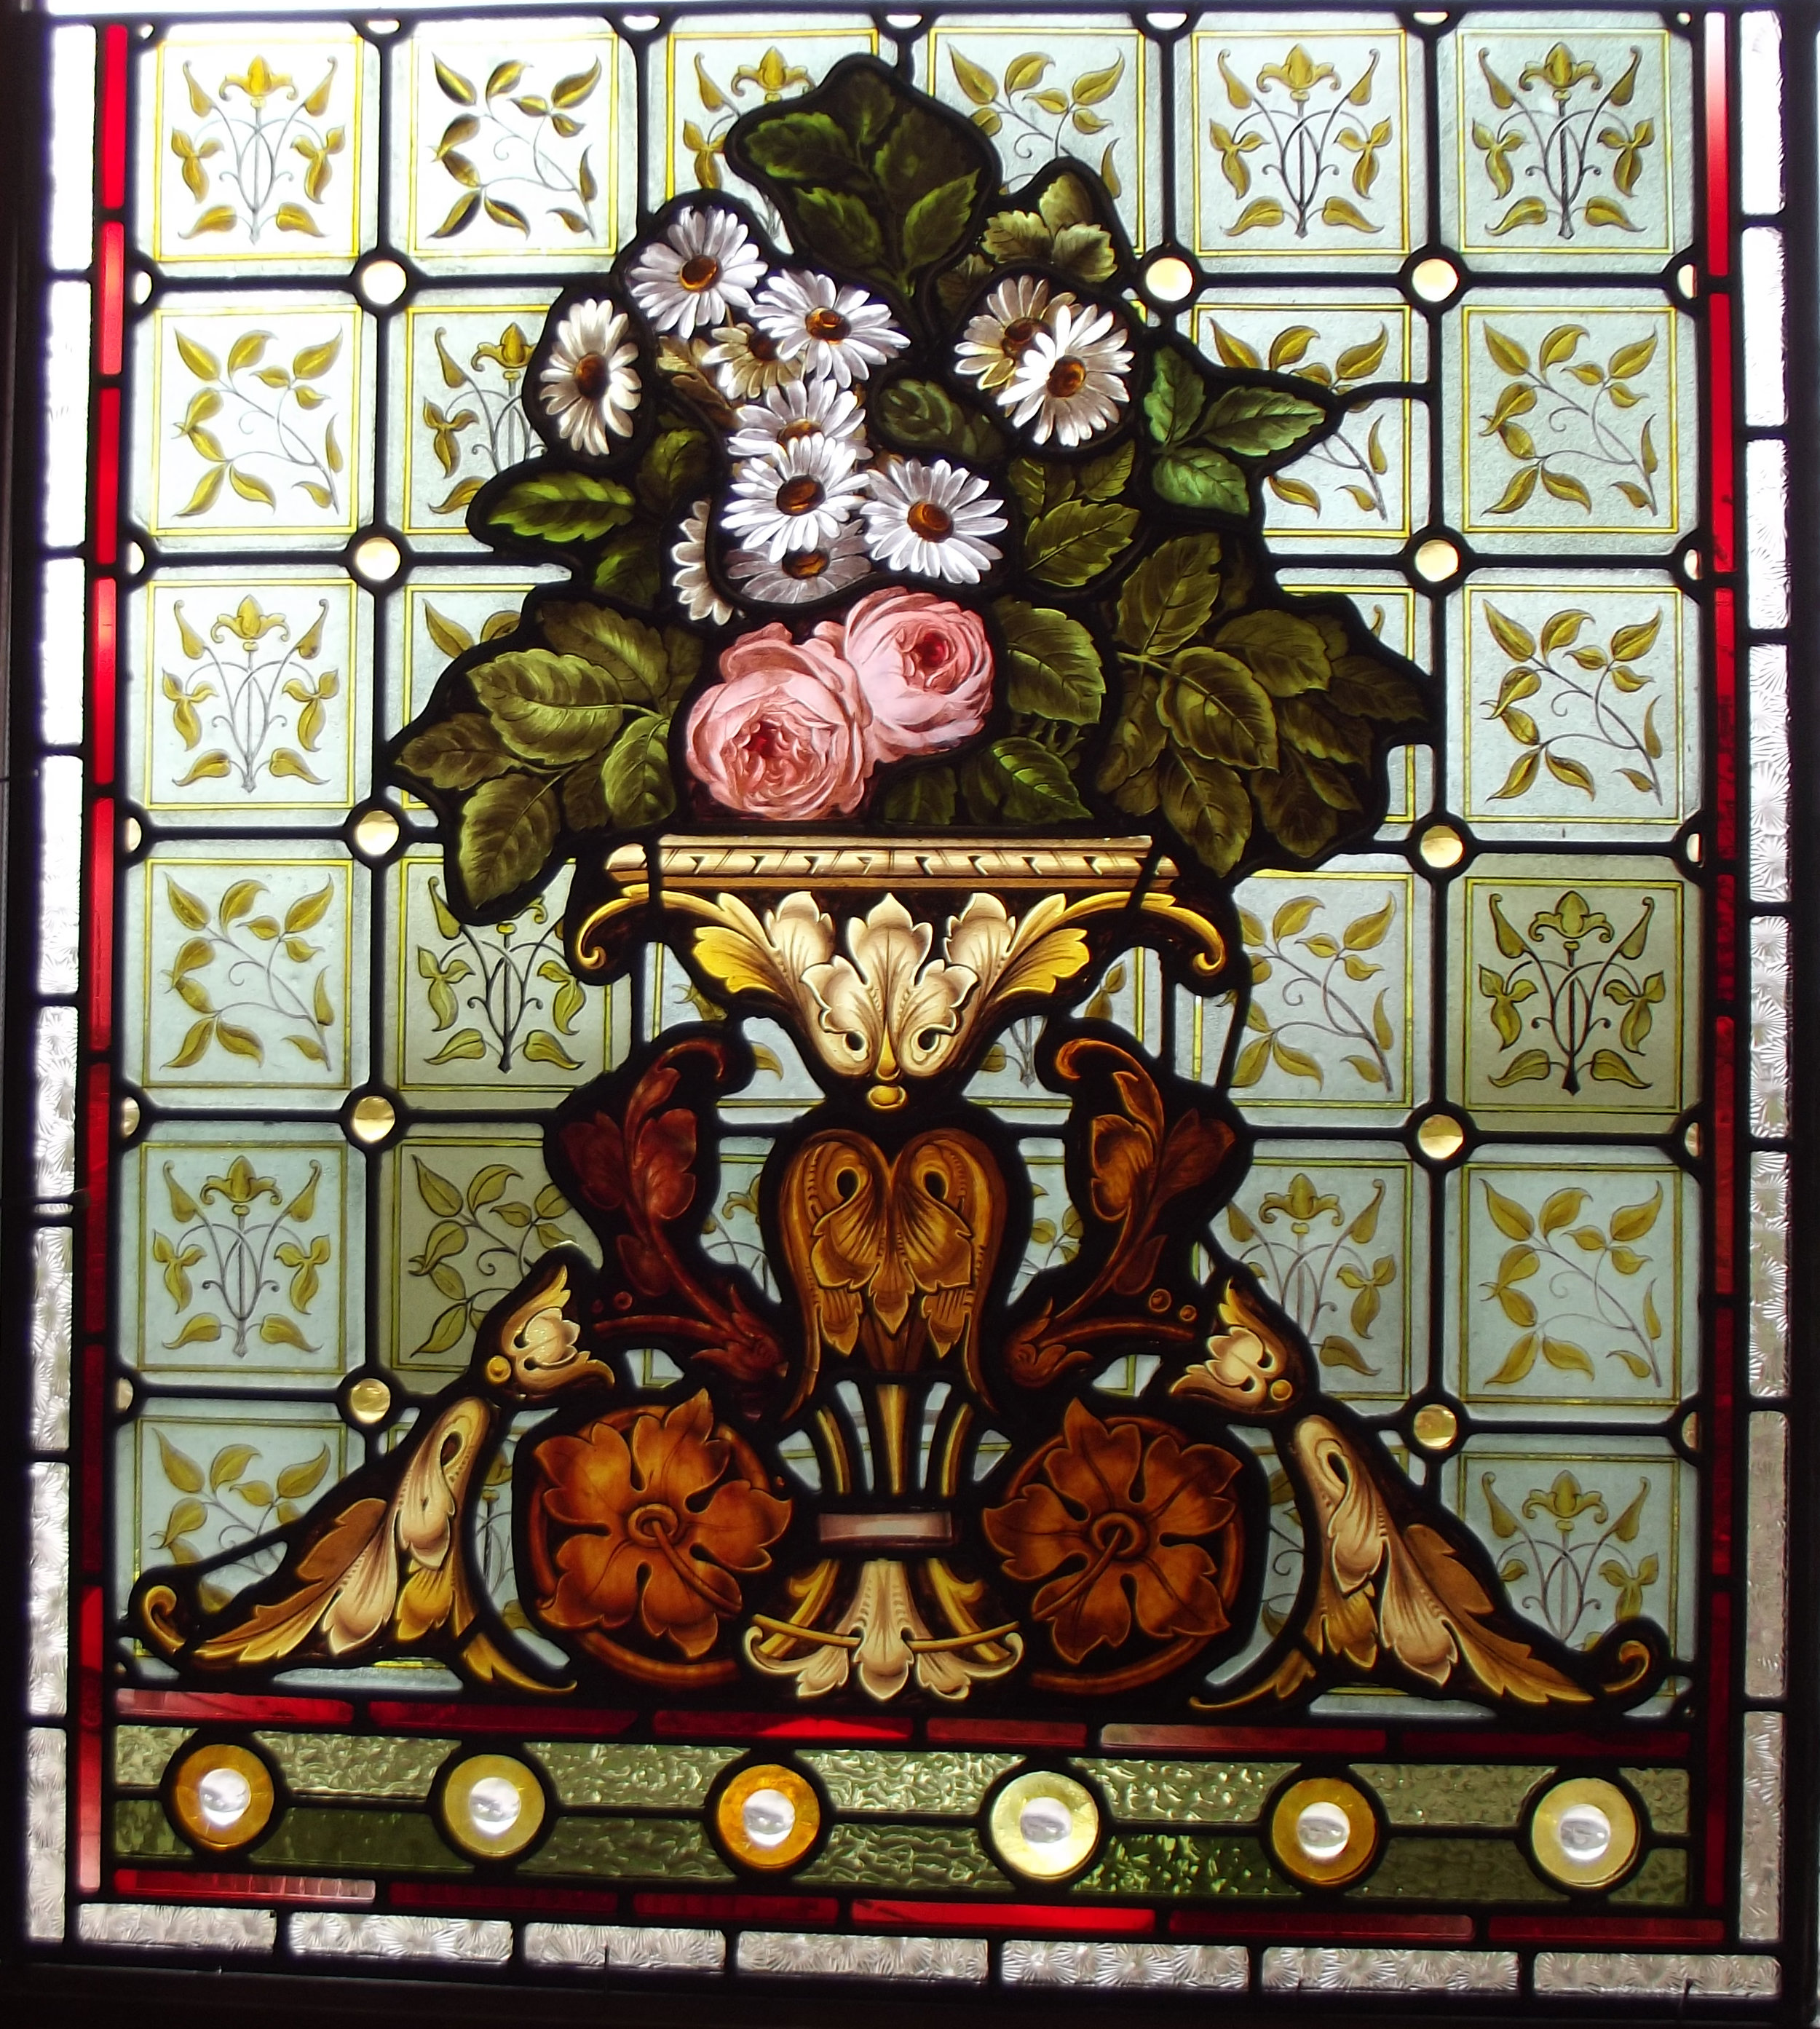
Restoration
Stained-glass window restoration is a four-step process that involves the removal, disassemble, reassemble, and installation of the window. During this process the stone mullions are checked for possible damage or need for repair. The average window size would take about two weeks for a restoration.
Step 1
The stained-glass window will be removed from its stone mullions. Steps are taken to insure the correct location of each panel or section that make up the window and measurements are taken for each section.
After the window has been removed the stone mullions are cleaned to remove old cement, dirt, and dust. Care is taken to ensure the preservation of the stone mullions.
Step 2
The stained-glass sections are then traced to make a working pattern for reassembling the window. The window section is then taken apart. Each piece is labelled and cleaned. Any broken glass is replaced.
Note: Acid is not used on the glass when cleaning, it is all done by hand.
Step 3
This step is most important and requires the greatest amount of time to accomplish. The section is re-glazed according to their original patterns. The glass pieces are put back exactly where they were prior to removal. During the re-glazing, all new alloy type lead came sections are used.
New alloy type lead cames has shown to be stronger and last twice as long as the pure lead used years ago. All lead joints are soldered with 50/50 blowpipe solder, which is the strongest available.
The re-glazed sections are then cemented using pheonix lead light cement. This holds its flexibility for expansion and contraction. Cementing also forms a weatherproof seal for the glass and lead cames. Once cemented and cleaned the window is allowed to set.
Step 4
The sections are re-installed into their stone mullions, and then cemented. Finally, the wires are attached to the saddle bars.
Note: This procedure is the same as extracting from wood surrounds


